The kitchen is frequently regarded as the hub of the home where loved ones come together, and memories are created. However, over time, even the most cherished kitchens can begin to show signs of wear and tear. One of the most effective ways to breathe new life into your kitchen is by painting kitchen cabinets. This comprehensive guide will walk you through the entire process, ensuring a stunning transformation that enhances both the beauty and functionality of your kitchen.

Why Paint Your Kitchen Cabinets?
Painting kitchen cabinets is an affordable and impactful way to update your kitchen without the need for a full remodel Here are some persuasive reasons to consider undertaking this project:
Cost-Effective
Compared to replacing cabinets, painting is much more budget friendly.
Customization
You can choose any colour to match your kitchen’s aesthetic.
Eco-Friendly
Reusing your existing cabinets is more sustainable than buying new ones.
Quick Transformation
Painting kitchen cabinets can be done relatively quickly, providing immediate results.
Planning Your Project
Before starting the painting process, effective planning is essential. Here’s what you need to consider:
Timeline
Determine how much time you can dedicate to the project. Painting kitchen cabinets can take a few days to a week, depending on the size of your kitchen and your availability.
Budget
Outline your budget, including the cost of paint, tools, and any additional supplies.
Colour Choice
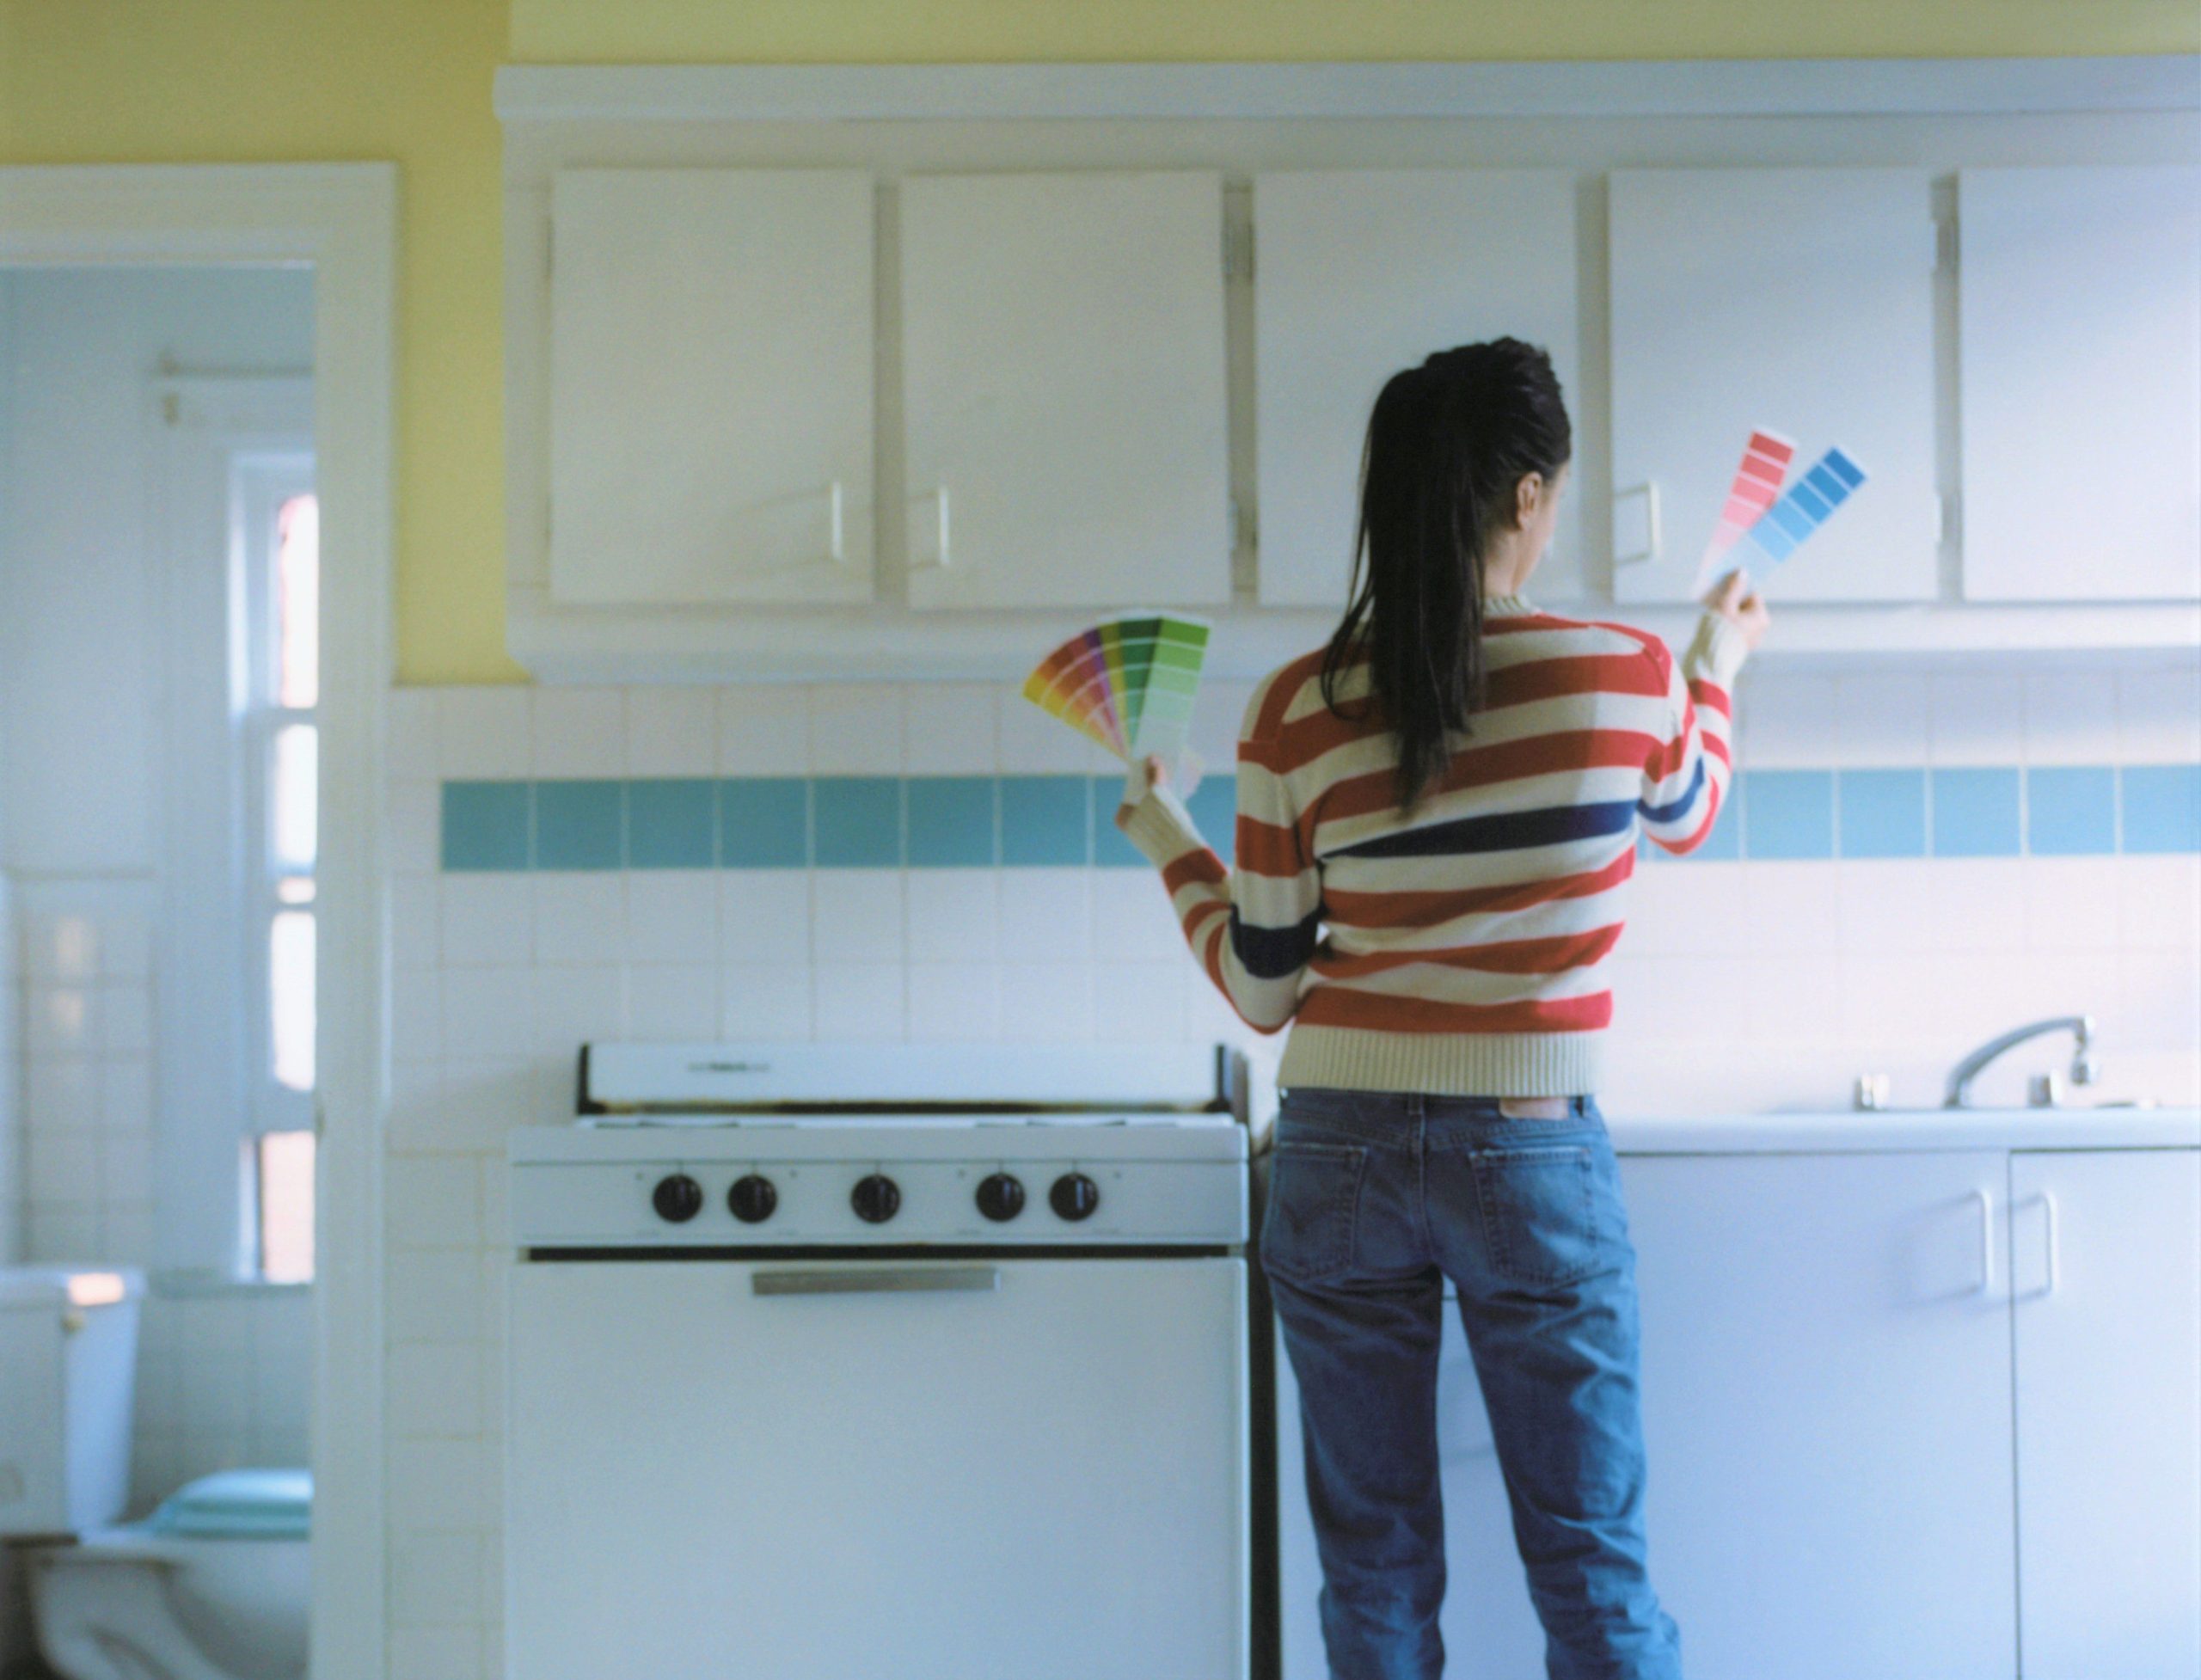
Select a colour that complements your kitchen’s existing decor. Consider using a colour wheel or paint samples to make your decision.
Materials and Tools You Need
Gathering all necessary materials and tools before starting will make the process smoother. Here’s a checklist:
Sandpaper (120-grit and 220-grit)
Screwdriver
Drop cloths or plastic sheeting
Painter’s tape
Cleaning solution (e.g., TSP)
Degreaser
Wood filler (if needed)
Primer
High-quality paint for painting kitchen cabinets
Paintbrushes (angled and flat)
Foam rollers
Tack cloth
Cabinet hardware (if replacing)
Preparing Your Cabinets
Preparation is key to achieving a professional finish when painting kitchen cabinets. Follow these steps:
Remove Cabinet Doors and Hardware
Use a screwdriver to remove doors, drawers, and all hardware. Label each door and drawer to ensure proper reassembly.
Clean Thoroughly
Use a degreaser and cleaning solution to remove any grease, grime, or dirt. This step is essential for paint adhesion.
Fill and Sand
Inspect for any damage and fill holes or dents with wood filler. Sand all surfaces with 120-grit sandpaper, followed by 220-grit for a smooth finish.
Prime the Surfaces
Apply a high-quality primer to all surfaces. Primer ensures better paint adhesion and coverage.
Choosing the Right Paint
Choosing the appropriate paint is vital for both durability and appearance. Here are some options:
Latex Paint
Easy to clean, fast-drying, and low Oduor. Ideal for painting kitchen cabinets.
Oil-Based Paint
It’s durable and offers a smooth finish, but it takes longer to dry and has a stronger odor.
Chalk Paint
Popular for a vintage or distressed look but may require a topcoat for protection.
When painting kitchen cabinets, opt for high-quality, durable paint specifically formulated for cabinetry to withstand daily wear and tear.
Step-by-Step Guide to Painting Kitchen Cabinets
Follow this detailed guide to achieve professional results:
Preparation
Lay drop cloths to protect your floors and countertops. Mask off any areas you don’t want painted.
Prime
Apply a coat of primer using a brush for corners and detailed areas and a roller for flat surfaces. Allow it to dry completely.
Sand
Lightly sand the primed surfaces with 220-grit sandpaper and wipe clean with a tack cloth.
Paint
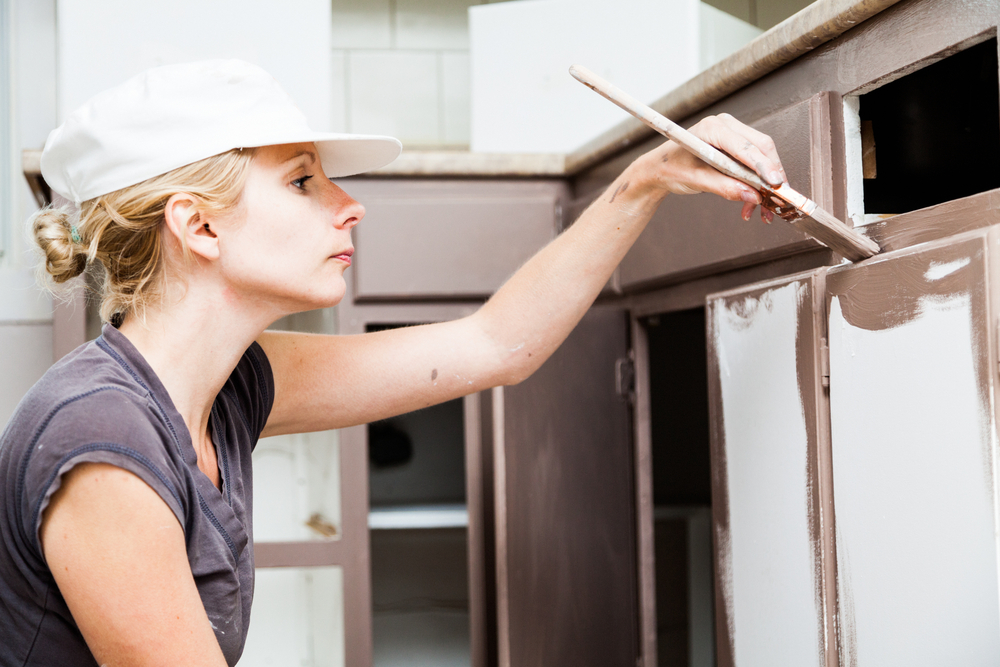
Start with the inside edges and openings, then move to the outer sides and finally the front surfaces. Use a brush for detailed areas and a foam roller for flat surfaces.
Dry and Recoat
Allow the first coat to dry completely before applying a second coat. This may take several hours overnight, depending on the paint.
Final Touches
After the final coat is dry, reinstall the doors, drawers, and hardware.
Tips and Tricks for a Perfect Finish
Achieving a flawless finish when painting kitchen cabinets requires attention to detail. Here are some tips:
Avoid Overloading the Brush
Use thin coats of paint to prevent drips and achieve a smooth finish.
Maintain a Wet Edge
Work quickly and maintain a wet edge to avoid visible brush strokes and lap marks.
Use Quality Tools
Invest in high-quality brushes and rollers for a professional finish.
Ventilation
Ensure adequate ventilation to accelerate drying time and minimize paint Oduors.
Frequently Asked Questions
Q: What is the timeframe for painting kitchen cabinets?
A: The entire process, including preparation, painting, and drying, can take anywhere from a few days to a week, depending on the size of your kitchen and the drying time between coats.
Q:Can I paint kitchen cabinets without removing the doors?
A: While it’s possible, it’s not recommended. Removing the doors and hardware allows for a more thorough and even paint job.
Q:What is the best type of paint for kitchen cabinets?
A: High-quality latex or oil-based paint formulated for cabinetry is ideal for painting kitchen cabinets.
Q:Do I need to sand my cabinets before painting?
A:Yes, sanding is essential to remove the old finish and create a smooth surface for the paint to adhere to.
Q:How do I prevent brush strokes when painting kitchen cabinets?
A: Use a high-quality brush and apply thin, even coats. A foam roller can also help achieve a smooth finish.
Q:Can I change the colour of my kitchen cabinets?
A: Absolutely! Painting kitchen cabinets allows you to choose any colour that suits your style and kitchen decor.
Q:How do I care for painted kitchen cabinets?
A: Clean them regularly with a mild detergent and avoid abrasive cleaners. Address any chips or scratches promptly.
Q: Is it necessary to use a primer before painting kitchen cabinets?
A: Yès, primer is essential for better paint adhesion and a longer-lasting finish.
Q:Can I use chalk paint for a modern kitchen look?
A:Yes, chalk paint can be used for a modern look, but it may require a protective topcoat to enhance durability.
Q:How do I choose the right colour for my kitchen cabinets?
A: Consider your kitchen’s existing decor, lighting, and overall aesthetic. Paint samples on small areas to see how they look in different lighting conditions.

Conclusion
Painting kitchen cabinets is a transformative project that can rejuvenate your kitchen without breaking the bank. With careful planning, the right materials, and attention to detail, you can achieve a stunning, professional-looking finish. Whether you’re aiming for a modern, classic, or unique look, painting kitchen cabinets offers endless possibilities to express your style. Embrace the process, and enjoy the satisfaction of creating a beautiful, refreshed kitchen space.
 Daily Blogger News Stay updated with the latest trends and insights. Your reliable source for daily updates and information.


